
Flatter Files now supports the ability to stamp the PDF when printing. There are three options for the content in the stamp. The first option is to stamp the current date and user name. This will mean anytime you view the printed drawing you will know exactly when it was printed and who printed it. The second option is to stamp custom text that the user enters onto the print. The third option is to include both the current date, user name, and custom text.
To enable the option to stamp your prints, an Administrator must first go to Dashboard > Settings > Company > Print Stamp Settings and enable the option shown in the image below.

Once enabled, when a user clicks to print the item they will be prompted to ask if they want to stamp the item or not. If you would like, you can make the stamp required for Viewers by enabling the “Require Stamp For Viewers” option. You can also make the stamp required for all users by enabling the “Require Stamp For All Users” option. When creating a stamp, Flatter Files allows you to control exactly where it is placed on the drawing and the size. To control these settings simply click the button titled “Default Settings” which will display the settings shown in the image below.
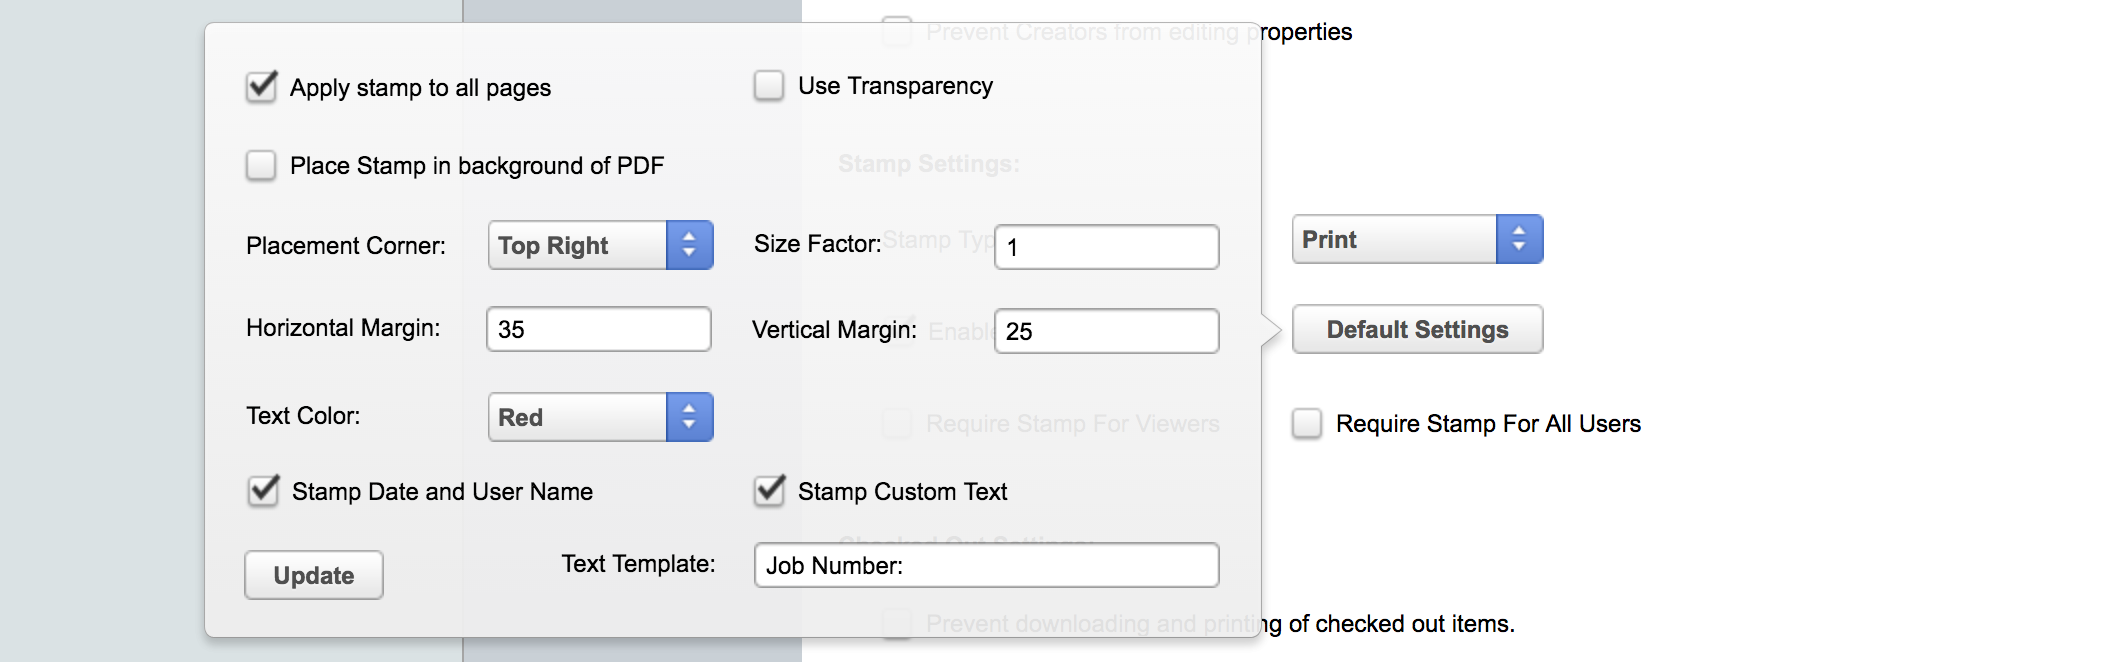
Most of the settings control placement, size, color and are self explanatory. The last two settings control the type of print stamp. If you simply want to stamp the date and user name then enable the “Stamp Date and User Name” option. To add custom text then enable the option to “Stamp Custom Text” which will display an optional text input that allows you to define a template for the custom text. For example, if you enter “Job Number:” then the text stamped on the drawing will be “Job Number:” and the additional custom text that they enter. The text entered will also be placed as the label of the prompt to enter the custom text. This is shown in the image below on the left. If the Template Text input is blank, then only what the user enters when prompted will be stamped on the drawing.
Both types of print stamps can be added to the drawing by simply enabling both options. The resulting stamp will have the print date, user name, and custom text entered.
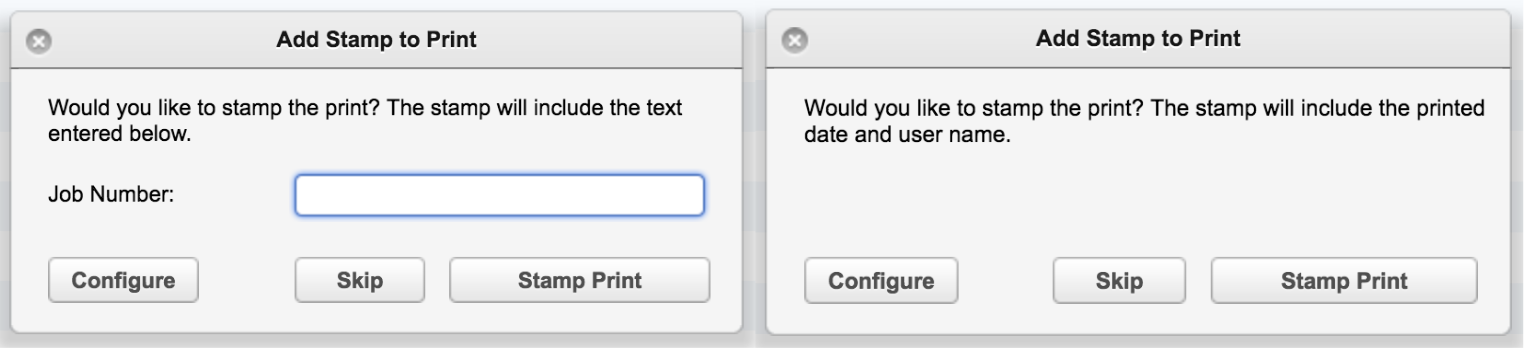
The images above show the prompts that will be displayed when a user clicks print. The one of the left asks the user to enter the appropriate text for stamping and the prompt on the right will be shown when only the date and user name are being stamped on the drawing. At any point, the user can control the placement of the stamp by clicking the “Configure” button from within the prompt. This doesn’t allow them to change the type of print stamp but it does allow them to customize how the stamp looks and its location since sometimes different settings may be necessary for specific drawings.
The prompt above won’t be shown if the user is a viewer, the setting to require them to stamp the drawing is enabled, and the stamp type is to only stamp the drawing with date and user name. Basically there is nothing for the user to do so the stamp is simply added without the prompt. Otherwise, if the stamp is not required for viewers then the prompt will always be shown such that it can be skipped if necessary.
Examples of the different stamp types are shown below. If you have any questions or enhancement requests, please contact us at [email protected].
Date and User Name

Custom Text

Custom Text, Date, and User Name
