Link to a Custom Property
Any custom property contained within your native files (SOLIDWORKS, AutoCAD, Word, etc) can be linked to any property in Flatter Files. In addition, the property on Flatter Files can have any unique name. This tutorial will describe how to configure this link between a custom property in your native files and a property in Flatter Files. This process is shown by renaming the Flatter Files property Custom1 to Customer ID and linking it to the SOLIDWORKS custom property CustID. This will allow to search on Flatter Files by Customer ID.
Prerequisites:
- Flatter Files supported File type (SOLIDWORKS, AutoCAD, Word, etc.) with a custom property that you want linked to a property on Flatter Files.
- Flatter Files account with the Flatter Files Uploader installed locally and configured to upload content.
- Access to your Flatter Files account as an Administrator.
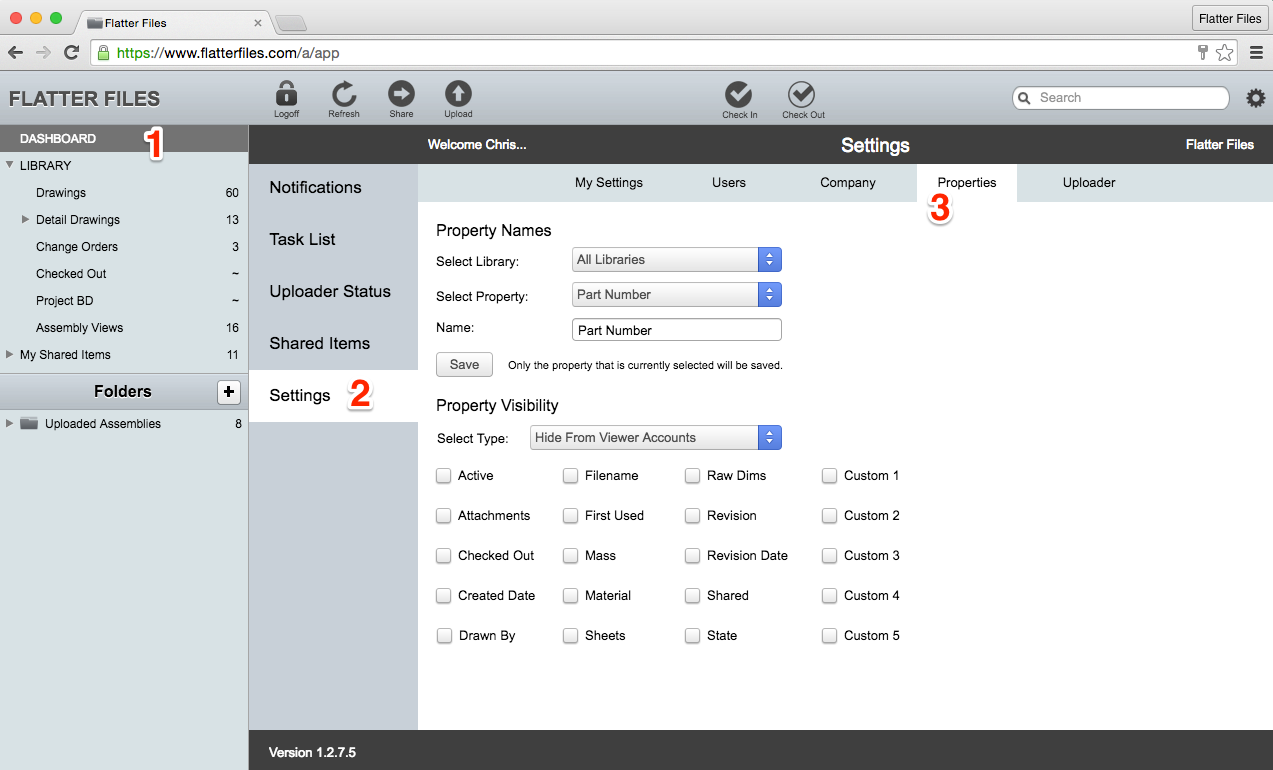
1. Login and navigate to the property settings in Flatter Files
Flatter Files contains a handful of properties that can be named anything and can be linked to any custom property.
- Login to your Flatter Files account.
- Click Dashboard at the top left (1).
- Click on Settings (2).
- Click on Properties (3).
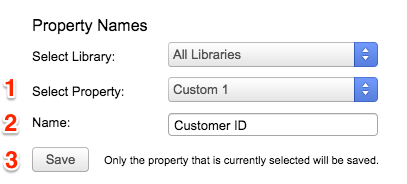
2. Select the Flatter Files Property and Name
- Click the Select Property drop down and click the appropriate Flatter Files Property that you want to rename (1).
- Enter the unique Name (2).
- Click the Save button (3).
- Repeat as necessary for any additional Flatter Files property names that you want to change.
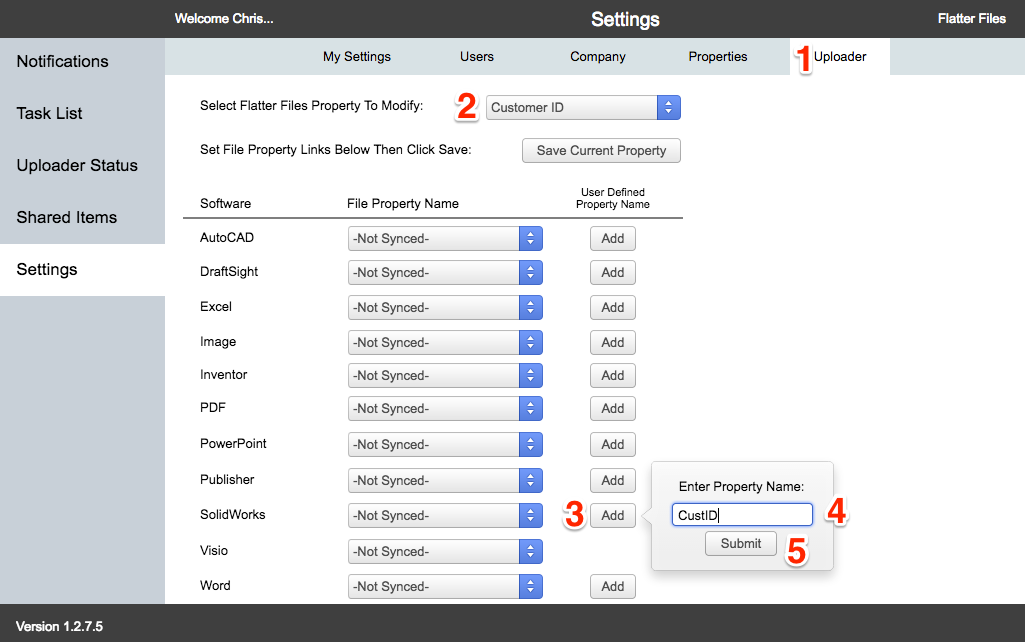
3. Add the Custom Property Name
- Click the Uploader tab at the top (1).
- Select the appropriate Flatter Files Property that you want to link to (2).
- Click the Add button across from the Application file type that contains the custom property (3).
- Enter the Property Name exactly how it appears in the custom property contained in the files (4).
- Click Submit (5).
- Note that the last three steps above are only required if the custom property being linked is unique and not already included in the list of custom property names for the Application.
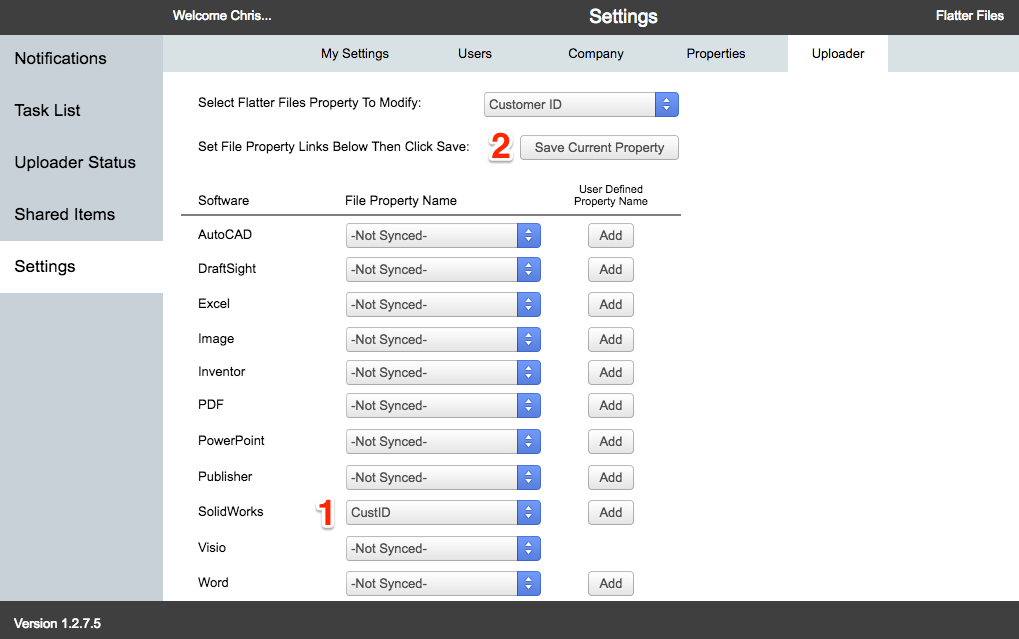
4. Link to the Custom Property Name
- Change the Software Property Name to the value entered in the previous step (1).
- Click the Save Current Property button (2).
- In this example, the Flatter Files property Customer ID has now been linked to the SOLIDWORKS custom property CustID.
- Repeat Step 3 and Step 4 to link any additional properties.
5. Complete
This tutorial is now complete. Your custom properties should now be linked to the various Flatter Files properties. In this specific example, the Flatter Files property Custom1 has been renamed to Customer ID and linked to the SOLIDWORKS custom property CustID. If you have any questions or need additional help please email [email protected].